👥 User Management
SecTrail CM provides both local user management and enterprise identity management support with LDAP/Active Directory integration. This allows you to easily manage your users and integrate with your corporate directory services.
User Types
SecTrail CM supports two different types of users:
1. Local Users
Local users are users defined and managed in SecTrail CM's own database.
Features:
- Created and managed within SecTrail CM
- Defined with username, password, and email address
- Role-based authorization support
- Ability to create dedicated users for API access
2. LDAP/Active Directory Users
Provides centralized identity management by integrating with your corporate Active Directory or LDAP servers.
Features:
- Centralized user management
- Login with existing corporate credentials
- Group-based authorization
- User-based authorization
Local User Management
Creating a New User
- Navigate to the Local Users tab from the Users menu
- Click the Create button
- Fill in the following information in the Add New Panel Users form:
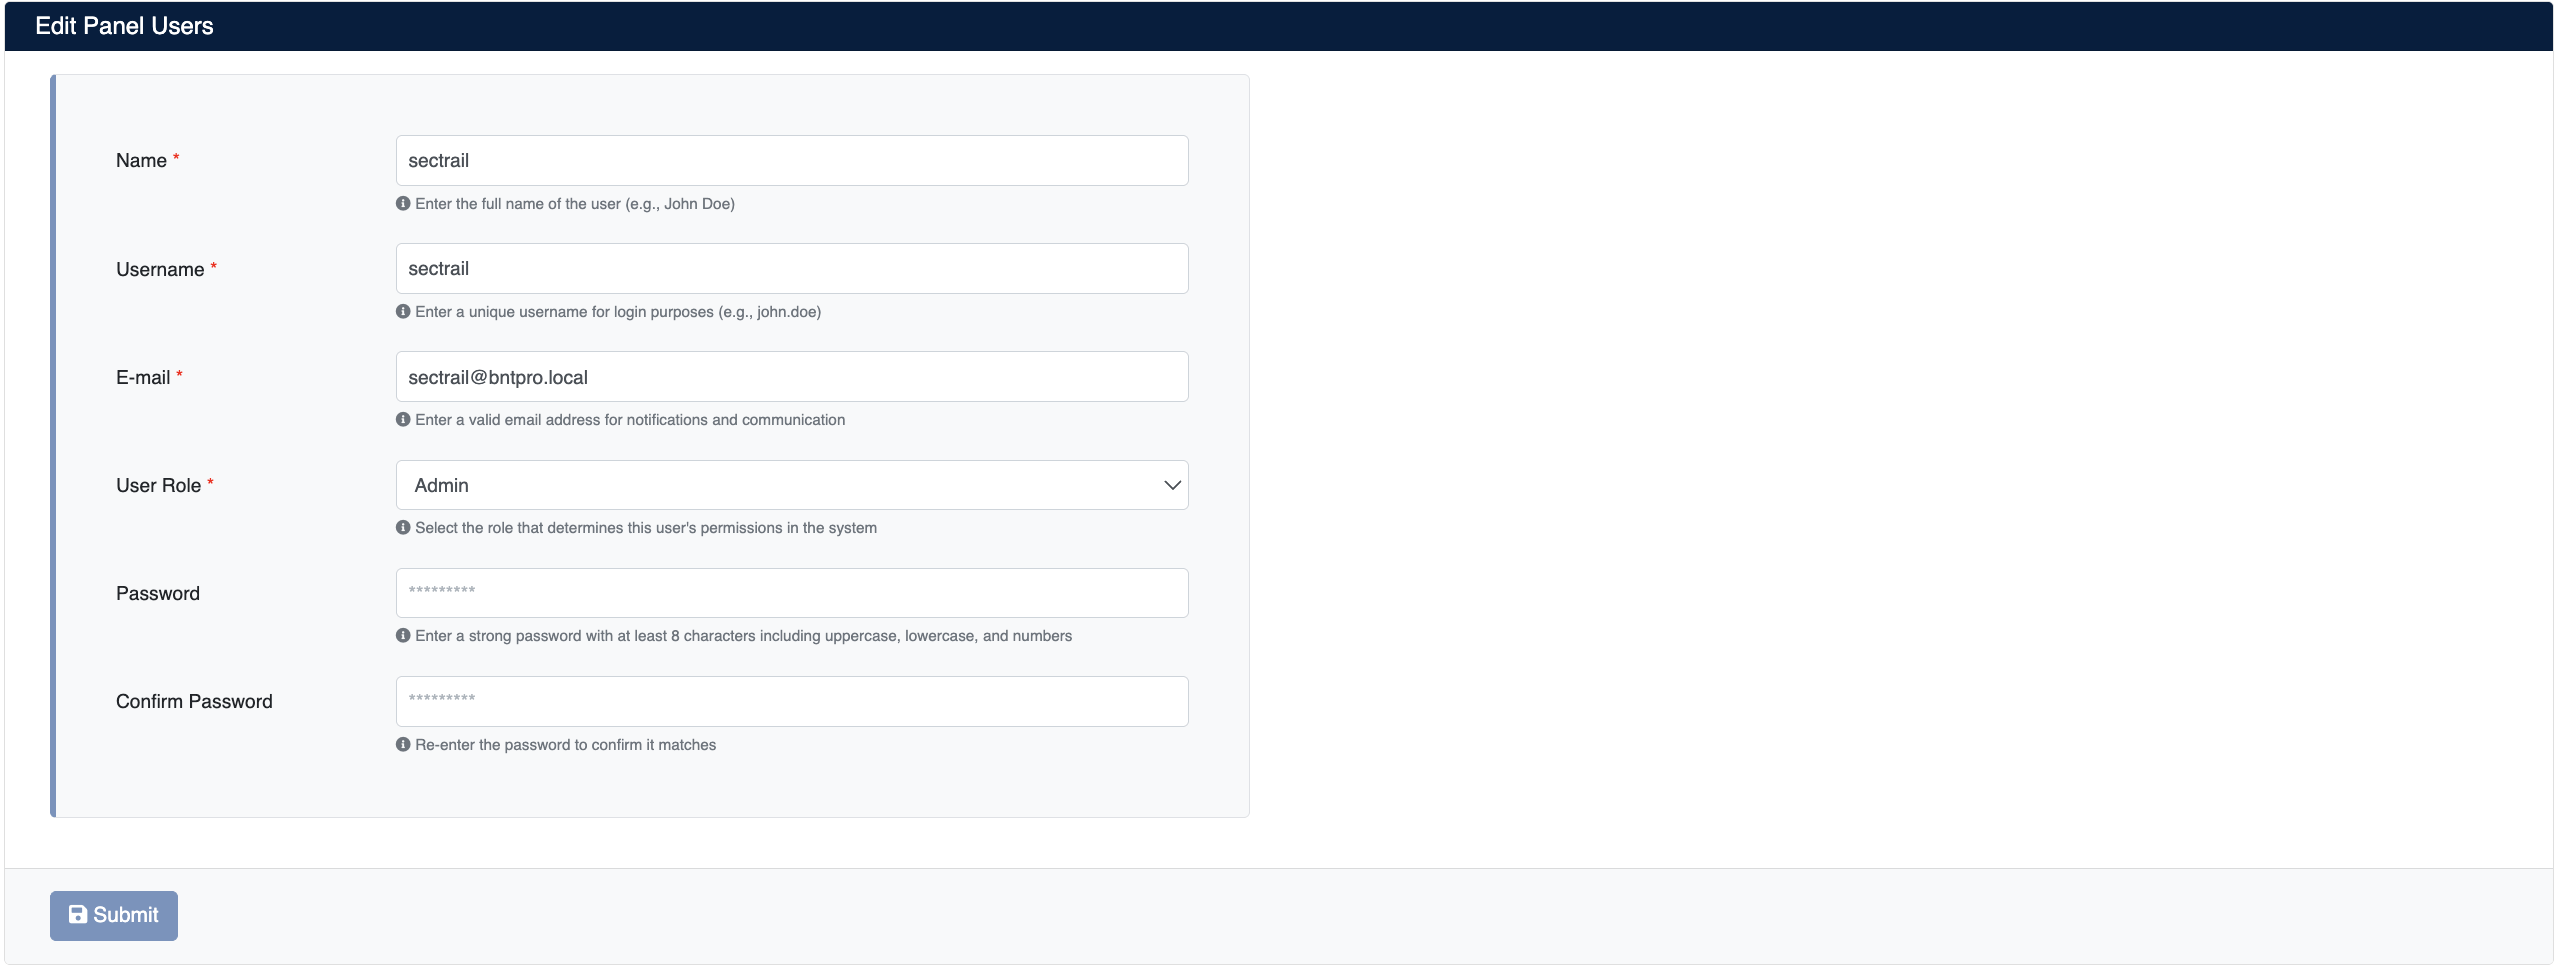
Form Fields
- Name: User's first and last name
- Username: Username to be used for system login (must be unique)
- E-mail: User's email address (valid format:
name@mail.com) - User Role: Role to be assigned to the user
- Password: User password
- Confirm Password: Password confirmation
- Click the Submit button to create the user
Create users with dedicated API roles for API integrations. These users should only be used for API access.
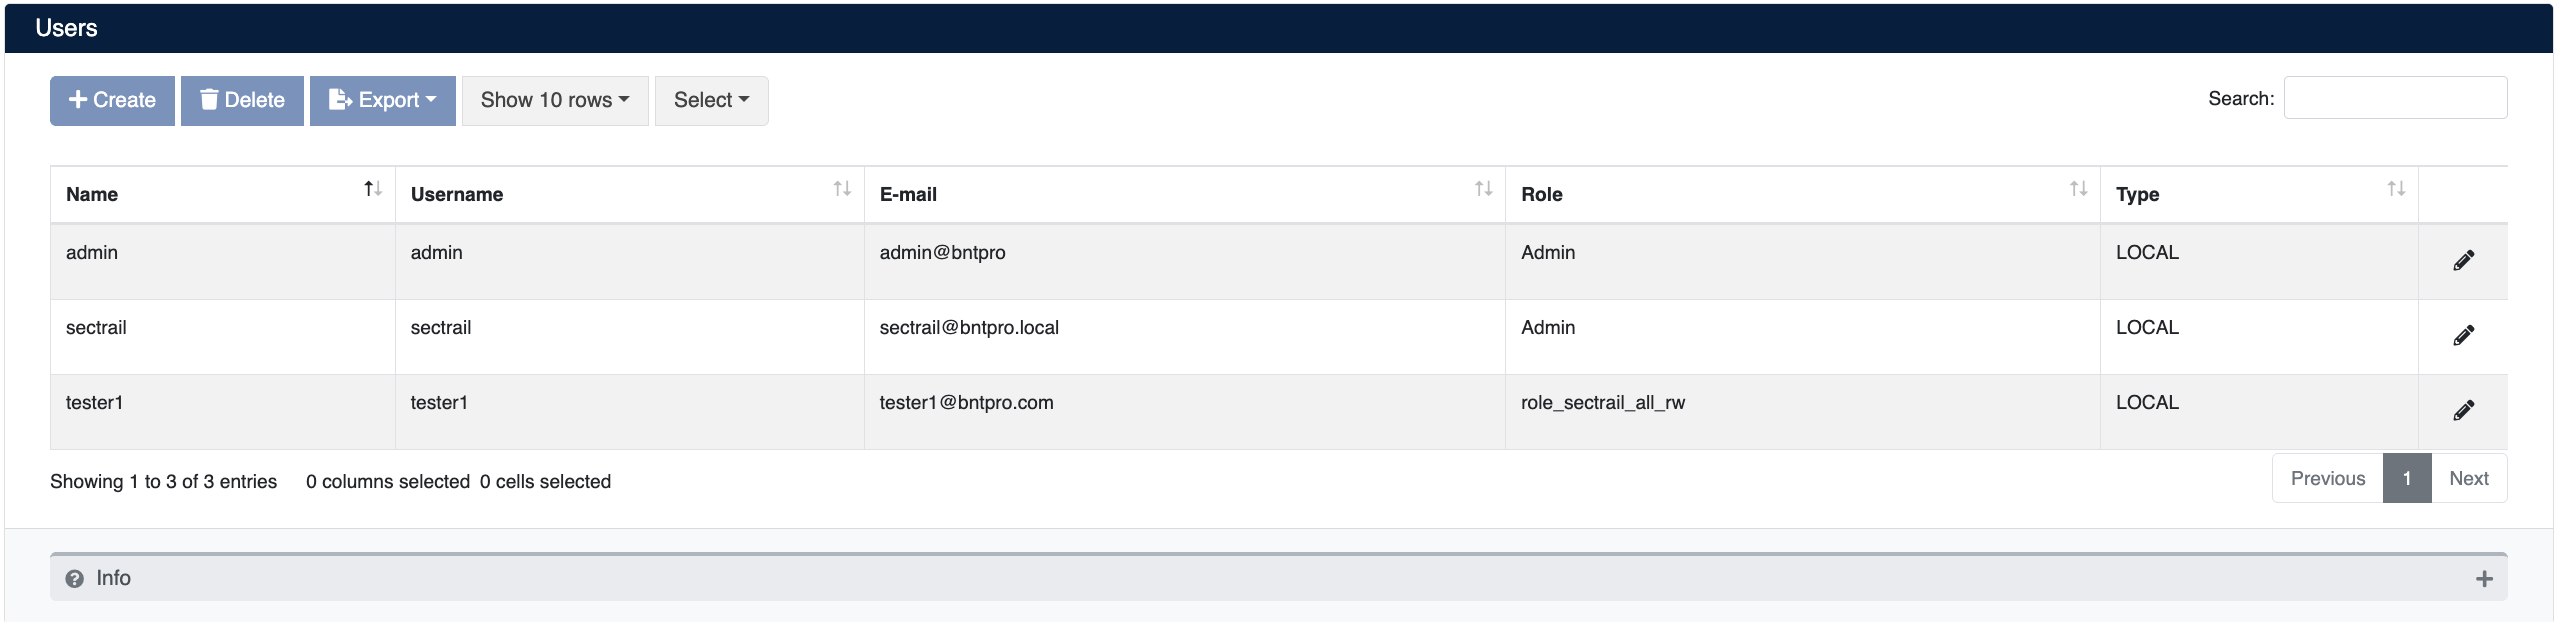
User List
The Users screen displays all users in the system in table format.
On this screen:
Column Information:
- Name: User's full name
- Username: Username used for system login
- E-mail: User's email address
- Role: Role assigned to the user
User Operations
Action buttons are located on the right side of each user row:
- Edit (✏️): Edit user information
- Delete (🗑️): Remove user from the system
Be careful when deleting users with active sessions. User deletion is irreversible.
LDAP/Active Directory Integration
SecTrail CM provides enterprise identity management by integrating with your Active Directory or LDAP servers.
LDAP Server Configuration
Creating a New LDAP Profile
You can create a new LDAP/AD profile using the Add New Ldap Server form.

Form Fields
- LDAP Name: Unique name for the LDAP profile
- LDAP Server: IP address or hostname of the LDAP/AD server. Multiple servers can be added using the Add More button
- Connection Type: Connection type selection
- In Secure: Unencrypted connection (Port 389, for testing/development)
- Secure: SSL/TLS encrypted connection (Port 636, for production)
- LDAP Port: Connection port number (default:
389or636) - User DN: Administrator DN for LDAP connection
- Admin Password: Password for the administrator specified in User DN
- Base DN: Base DN where user searches will begin
- Manage Role: Default role for LDAP administrators
- User Role: Default role for LDAP users
- Test User: Username to test the connection
Always test your LDAP connections. Incorrect configuration can prevent user logins and make system access impossible.
Before configuring your first LDAP setup, ensure you have a local admin account that can log into the system. This way, you can access the system in case of LDAP issues.
LDAP Profile Management
The LDAP Profiles table displays all defined LDAP servers.

Table Columns:
- LDAP Name: Profile name
- IP Address: LDAP server IP address
- User DN: Administrator DN used for connection
Profile Operations:
Two action buttons are located on the right side of each profile row:
- Edit (✏️): Edit LDAP profile settings
- You can update all configuration fields
- Server address, port, DN information can be changed
- You may need to re-enter the password
- Delete (🗑️): Delete LDAP profile
- Deletion is irreversible
- Remote Authentication Policies associated with this profile may be affected
Before deleting an actively used LDAP profile, ensure that users logging in with that profile can access the system through another method.
Remote Authentication Policies
Remote Authentication Policy allows you to assign custom roles to LDAP/AD users on a group or user basis. This way, you can assign different roles based on AD group memberships.
Creating a New Policy
You can create a new policy using the Add New Remote Authentication Policy form.
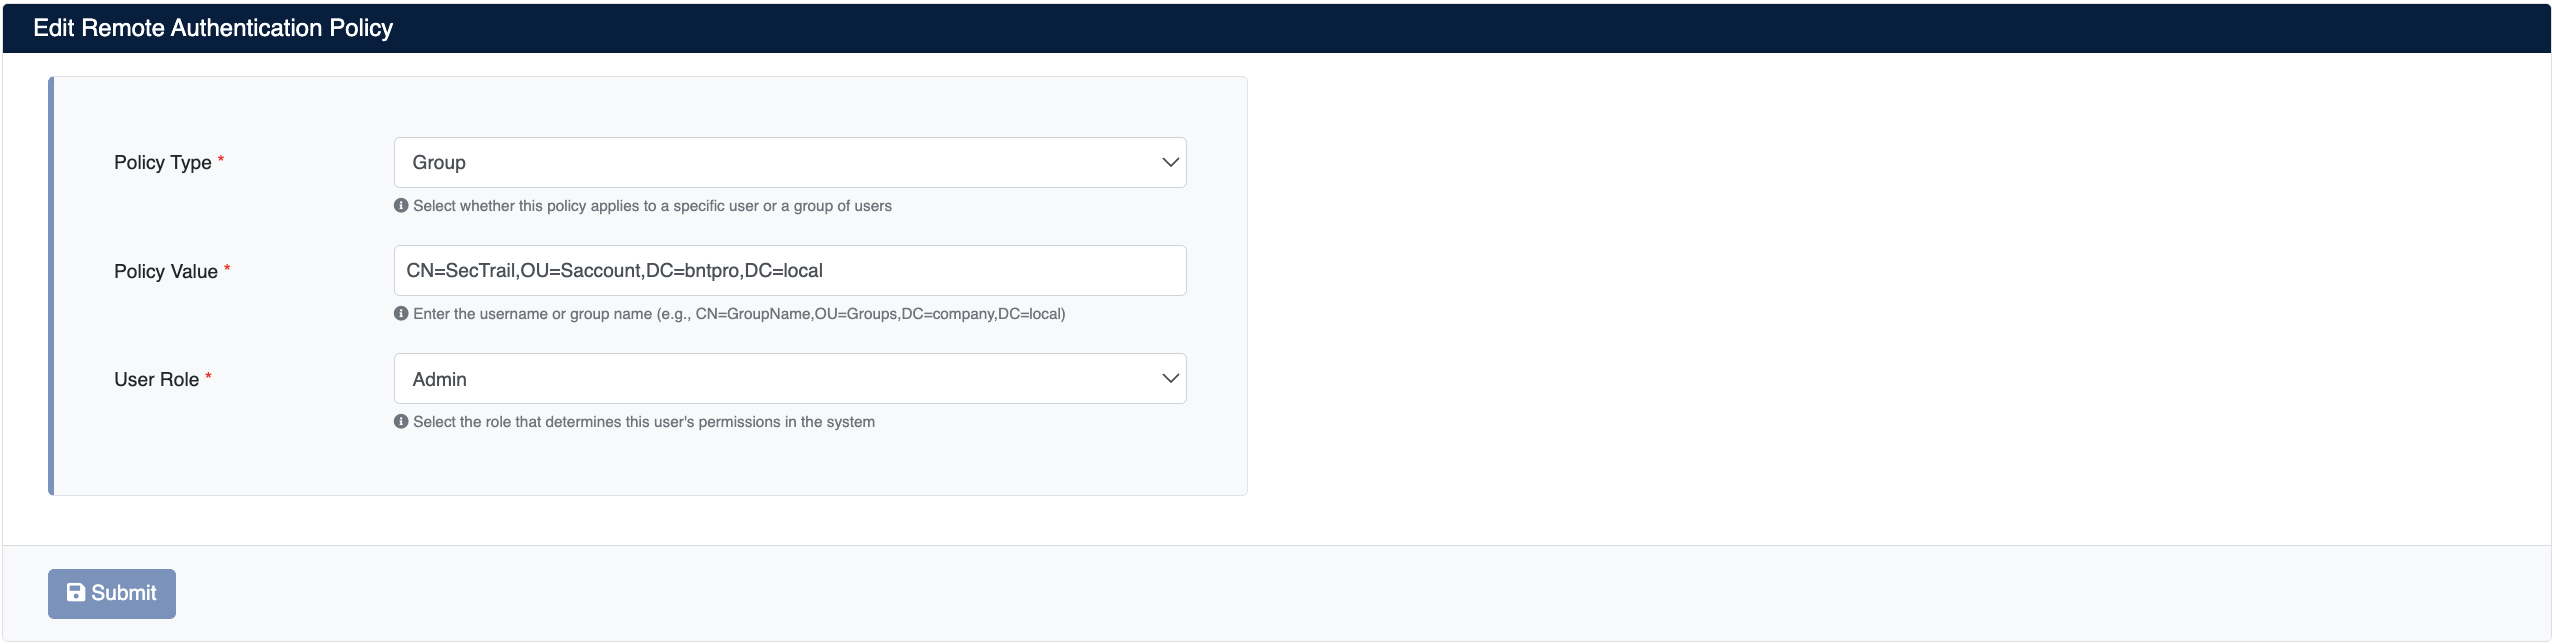
Form Fields
- Policy Type: Type of policy
- Group: AD group-based policy
- User: Individual user-based policy
- Policy Value: Policy value (varies based on Policy Type)
- If Group is selected: AD group DN is entered
- If User is selected: Only username is entered
- User Role: Role to be assigned to users matching this policy
Policy List
The Remote Authentication Policy table displays all defined policies.
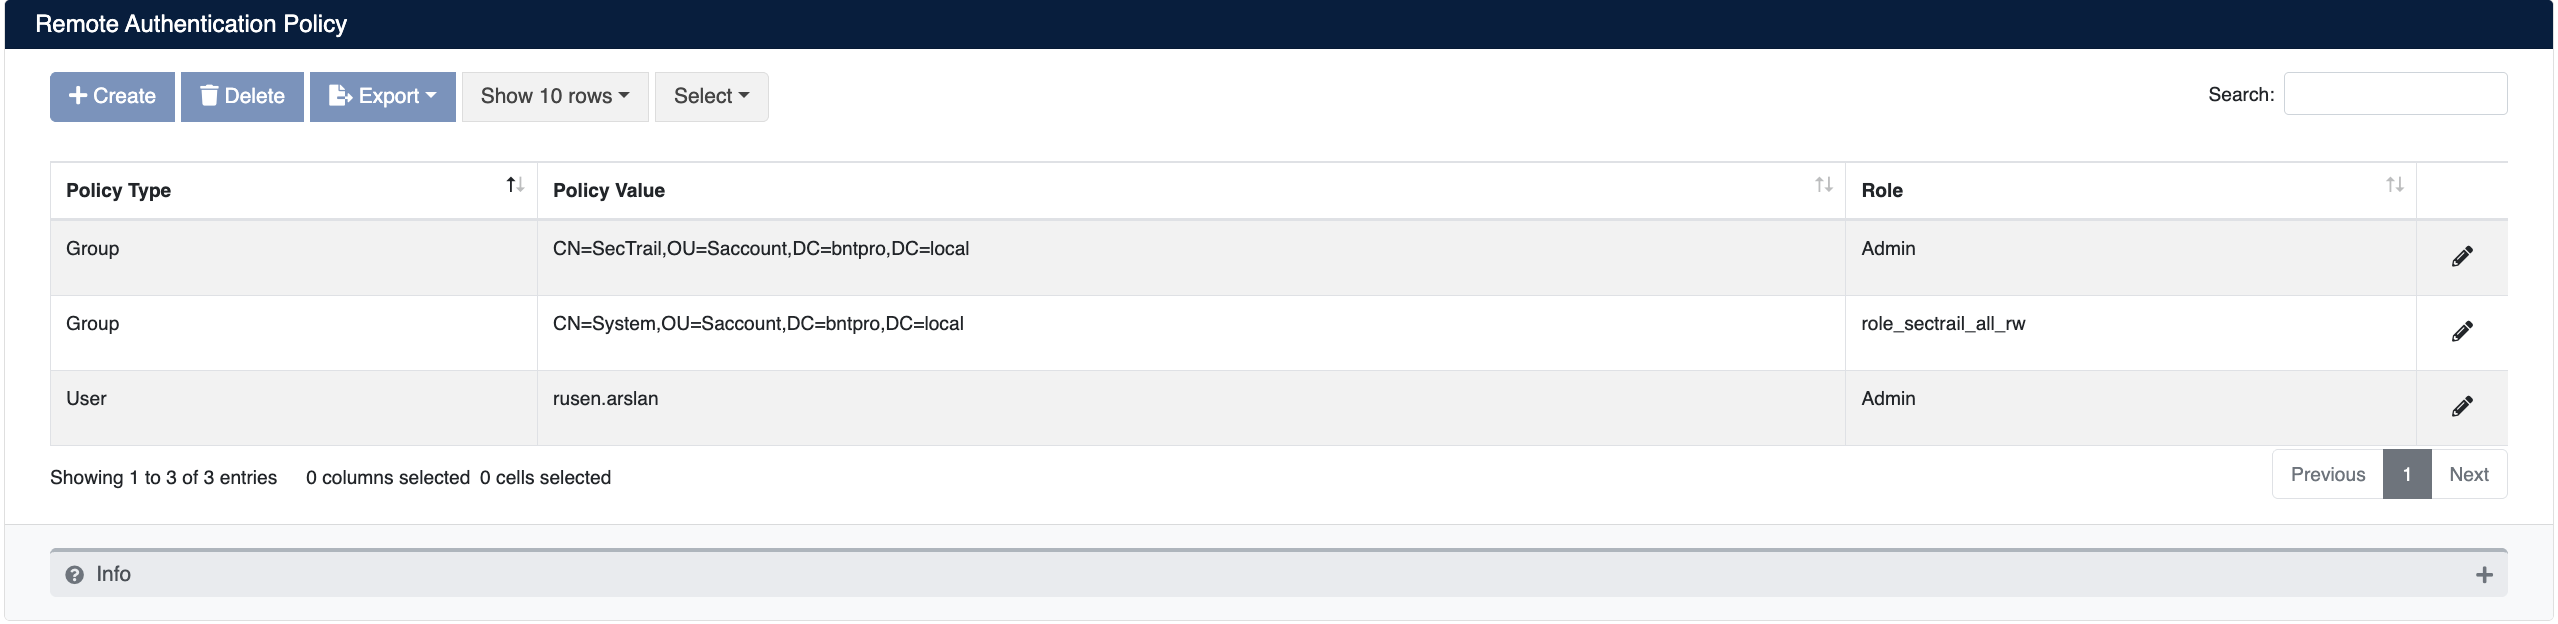
Table Columns:
- Policy Type: Type of policy (
GrouporUser) - Policy Value: Group DN or username
- Role: Assigned role
Policy Operations:
Two action buttons are located on the right side of each policy row:
- Edit (✏️): Edit policy settings
- Policy type, value, or role can be changed
- Edit carefully for active users
- Delete (🗑️): Delete policy
- When a policy is deleted, users return to the default role in the LDAP profile
- Active sessions are not affected, applies to new logins
Policy Priority Order
If multiple policies apply to a user, the priority order is as follows:
- User Policies: Highest priority
- Group Policies: Second priority
Use group-based policies whenever possible. This simplifies management and works in harmony with your AD structure.
Policy changes take effect in new sessions. Active users may need to log in again.
User Roles
In SecTrail CM, users are managed through role-based authorization. One or more roles can be assigned to each user.
Default Roles
- Admin: Full administrator privileges
- API: Dedicated role for API access
For detailed information about roles and permissions, see the Role and Permissions section.