🔐 Role and Permissions
SecTrail CM manages user permissions using role-based access control (RBAC). This system allows you to assign appropriate permissions to users based on their job definitions and provides secure access management.
Role-Based Access Control
Role-based access control is a security model that enables permission assignment through roles rather than directly assigning permissions to users.
Basic Concepts
- Role: A logical group of specific permissions
- Permission: Authorization for a specific operation that can be performed in the system
- User: A system user assigned to one or more roles
Advantages
- Centralized Management: Permissions are managed at the role level
- Easy Maintenance: User permissions are updated collectively through role changes
- Security: Facilitates the application of the principle of least privilege
- Flexibility: Role definitions suitable for organizational structure
- Auditability: Role-based permission control and reporting
Default Roles
SecTrail CM comes with the following default roles:
Admin
This role has full administrator privileges and can perform all operations on the system.
Use Cases:
- System administrators
- Fully privileged super users
- Initial setup and configuration
API
This role is specifically designed for API access and is used for operations via REST API.
Use Cases:
- System integrations
- Automation scripts
- Third-party applications
Role Management
Viewing Role List
The Role Management screen displays all roles in the system in a simple table format.
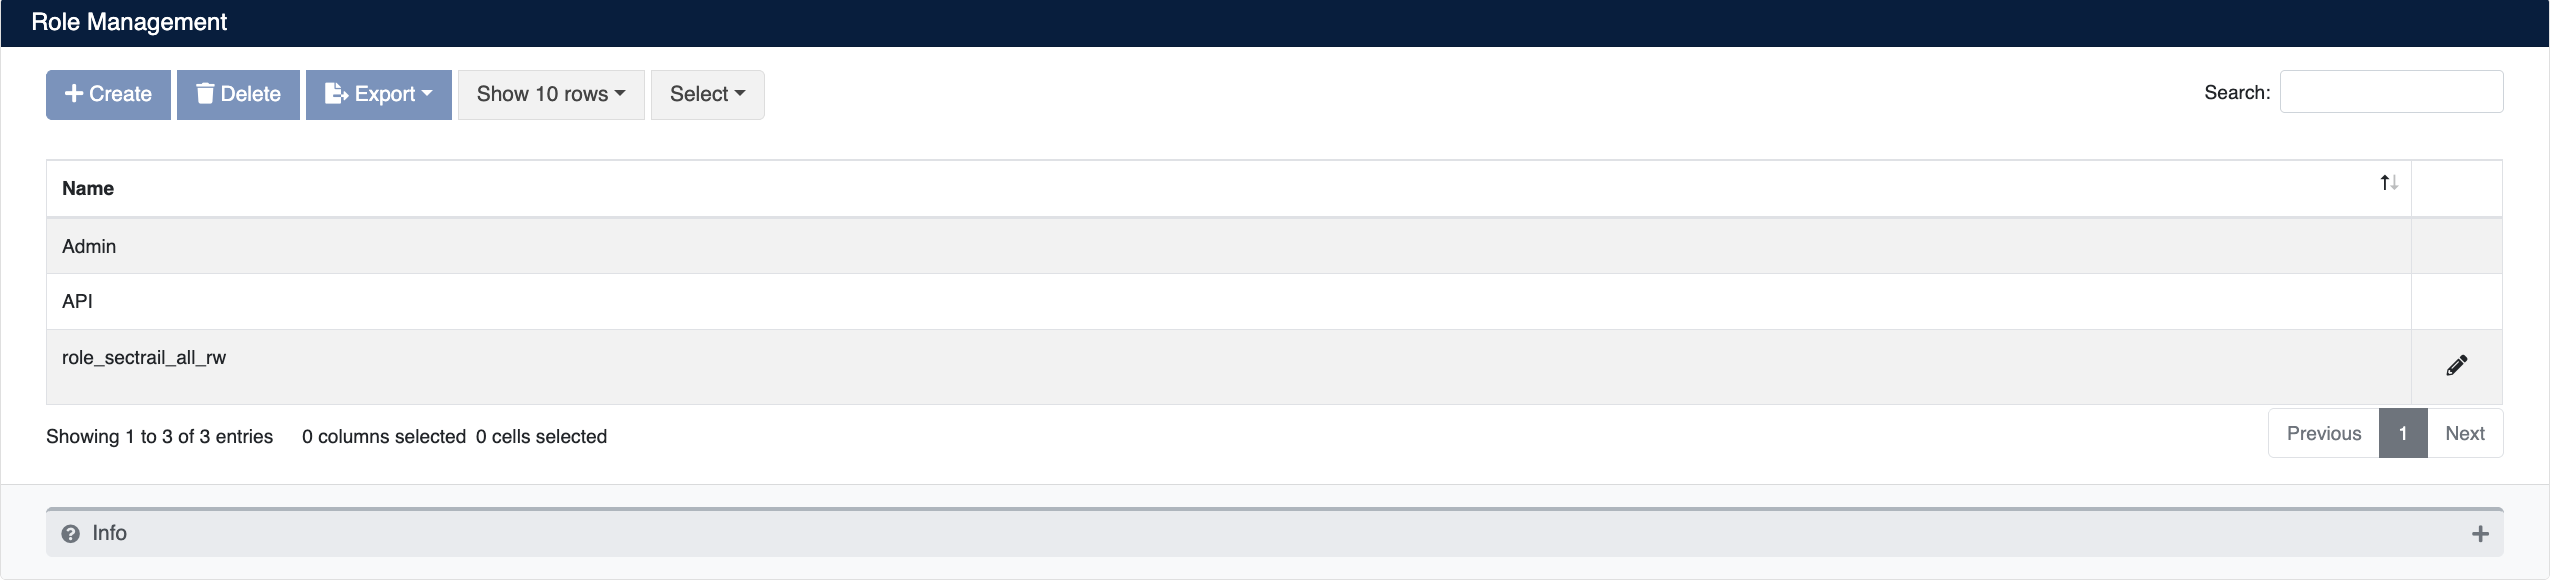
Table Columns:
- Name: Role name
- Actions: Action buttons
Creating a New Role
You can create a new role and assign permissions to it using the Add New Roles form.
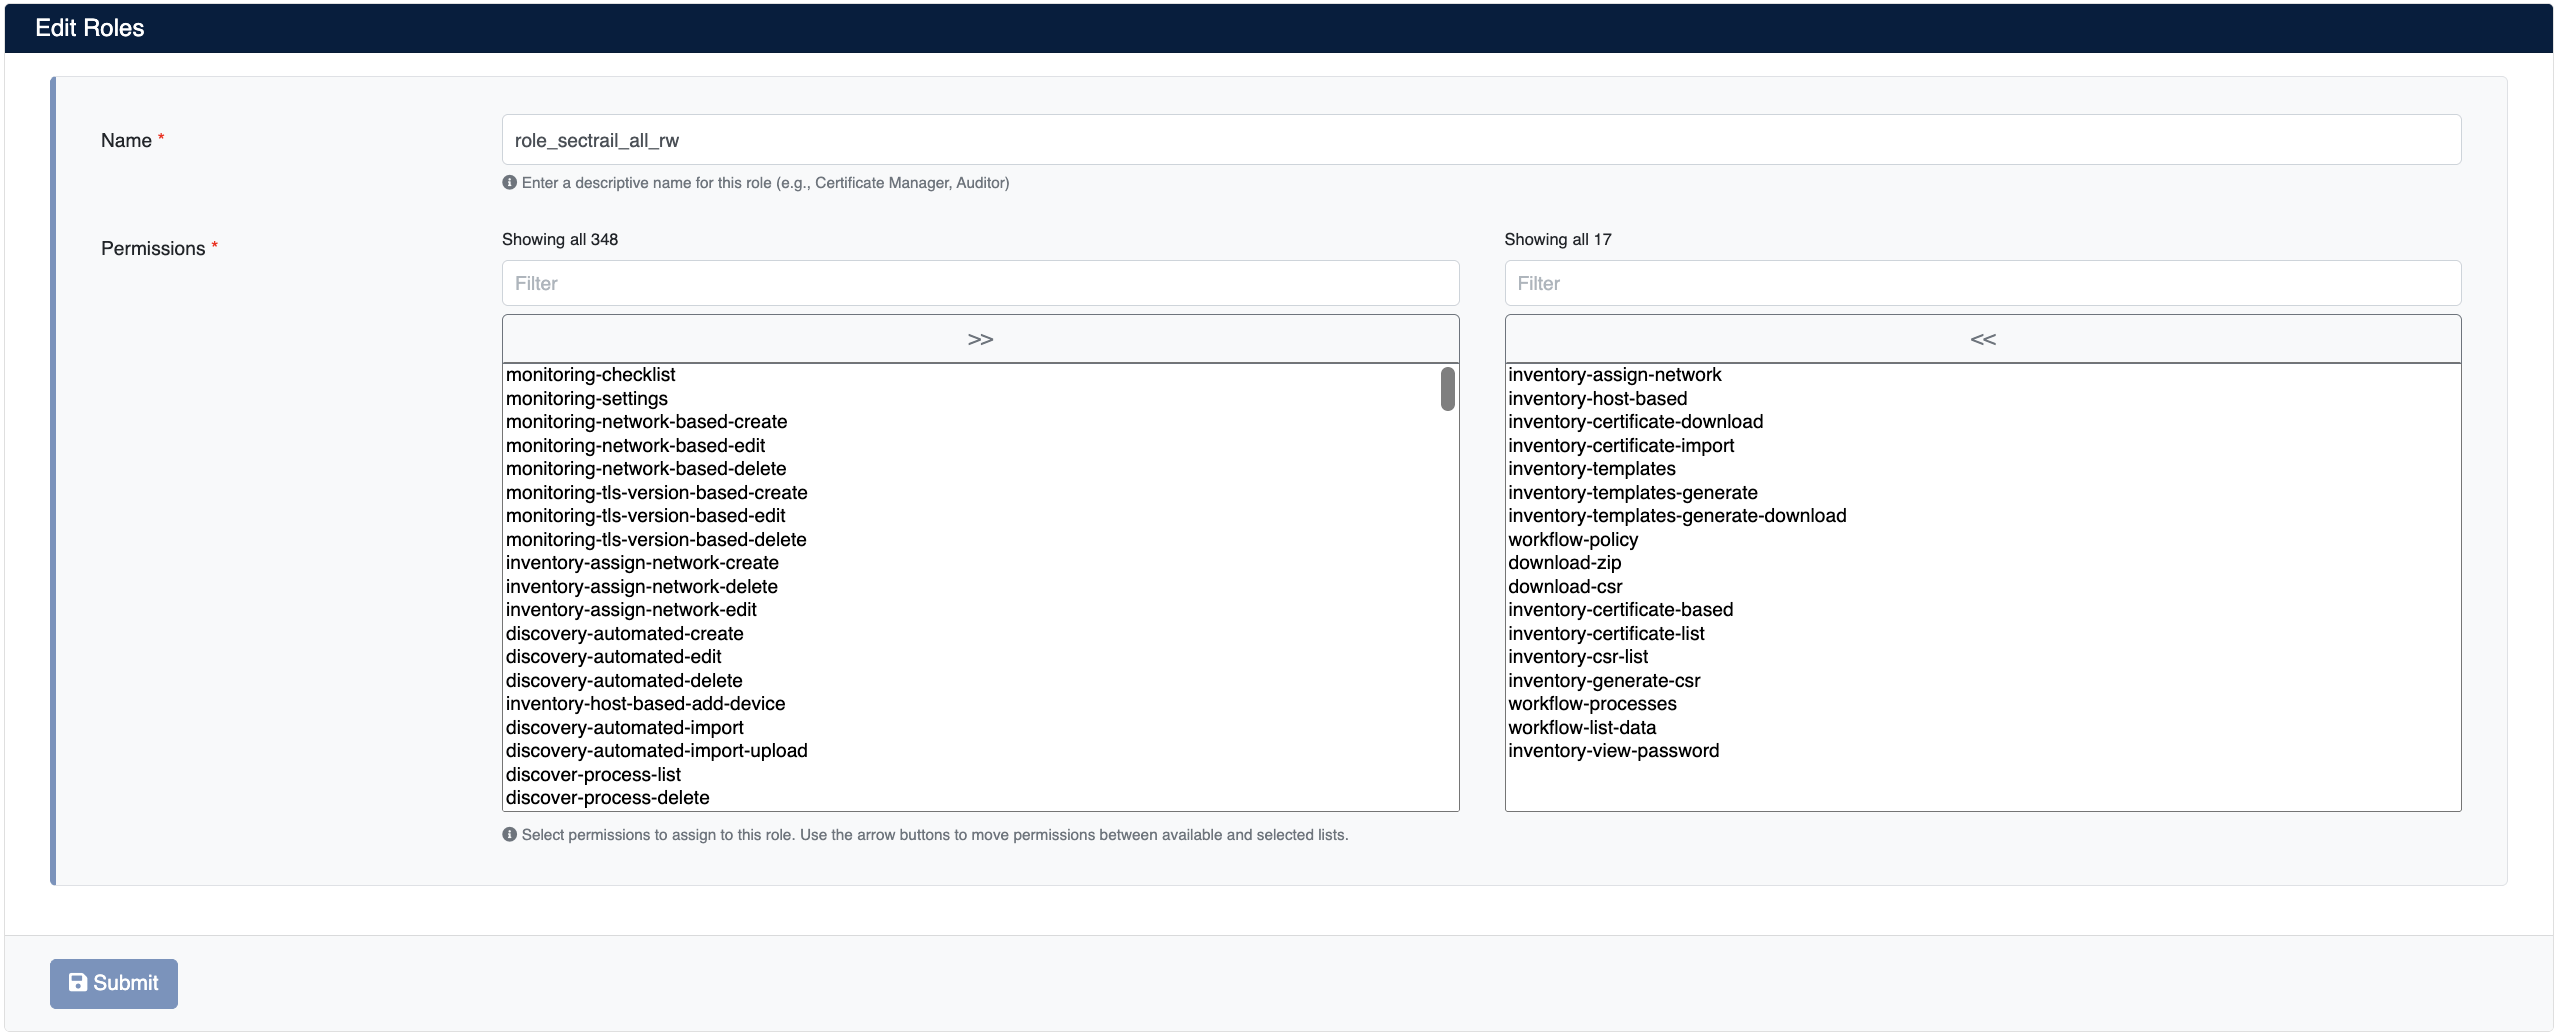
Form Fields
- Name: Unique name for the role (lowercase and hyphen characters are recommended, e.g.,
sign,certificate-viewer,deployment-operator) - Permissions: Permission selection is made through a two-panel transfer box
Permission Selection Interface:
The form contains two panels, left and right:
- Left Panel: Displays all available permissions in the system. You can quickly search for permissions using the Filter box.
- Transfer Buttons: You can move permissions from the left panel to the right panel with the
>>button, and from the right panel to the left panel with the<<button - Right Panel (Selected Permissions): Shows the list of permissions to be assigned to the role
sign→ Find signing operationsdelete→ Find deletion permissionscreate→ Find creation permissionsedit→ Find editing permissionsdownload→ Find download permissions
Editing a Role
- Click the Edit (✏️) button next to the role you want to edit in the role list
- Update the role name and permissions
- Click the Submit button to save the changes
Deleting a Role
- Click the Delete (🗑️) button next to the role you want to delete in the role list
- Confirm the deletion
Before deleting roles assigned to active users, ensure that you have assigned other roles to these users. Otherwise, users may not be able to access the system.
Assigning Roles to Users
After creating roles, you need to assign these roles to users.
Local Users
- Navigate to Users > Local Users
- When creating or editing a user, select the relevant role from the User Role field
- Save the changes
LDAP/AD Users
For LDAP or Active Directory users, roles are assigned through Remote Authentication Policy:
- Navigate to the Remote Authentication Policy section
- Create a group or user-based policy
- Select the role you want to assign in the User Role field
For detailed information, see the User Management section.